This page details how to connect to Chris and Dave for recording the show. You should have:
- A microphone (sent to you, unless discussed otherwise), placed roughly 10 cm/3 inches from your mouth.
- A set of headphones, optimally earbuds. There is no monitoring of your own voice, so earbuds allow you to hear yourself speaking.
- A quiet, small room to record in. No conference rooms. If you must record in a bigger room, using pillows and blankets can help deaden the echo sound.
- Optimally a LAN connection. Even the best WiFi connections have unknown delays which can negatively impact sound quality.
If you have any questions about this install, please email us at theamphour@gmail.com
Installing Mumble
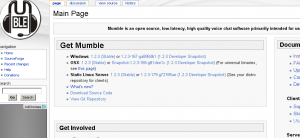
Go to the Mumble page and download the Mumble client for your particular operating system (Windows XP will be used for the example)
Open the downloaded file and follow the installation dialog.
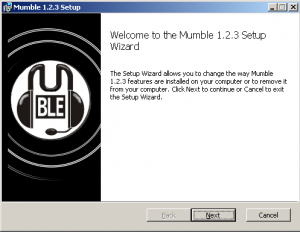
Do not install Murmur, that is the server side application. It is not needed, we’ll be connecting to a remote server.

Open the newly-installed program, click “Connect” and follow the network setup
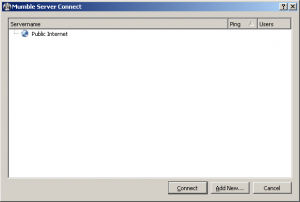
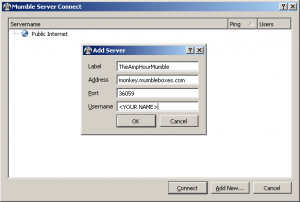
Enter the information for our server:
- West Coast – For use with people west of the Mississippi in the US, those in Asia and Australia/NZ
- Address: monkey.mumbleboxes.com (or 173.255.247.233)
- Port: 36059
- Username: <YOUR NAME>
- East Coast – For use with people east of the Mississippi in the US, those in Europe or Africa
- Address: tuna.mumbleboxes.com (or 192.155.91.114)
- Port: 36330
- Username: <YOUR NAME>
Once you are connected, you can set up the audio. This can also be done before connecting if preferred.
Setting up audio
Once the program is installed and you are connected to the server go to the Settings Menu.
- In Windows and Linux, this is under the “Configuration” menu and then the “Settings” selection.
- In OSX, this is under the “Mumble” menu and then the “Preferences” selection.
- All of these should take you to the “Audio Input” menu.
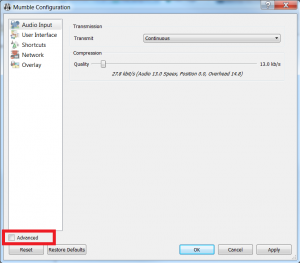
Click on the “Advanced” radio button
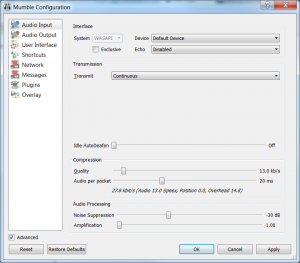
This should open up all of the options that we need for you to sound great. It should now look like this:
Mac Version:
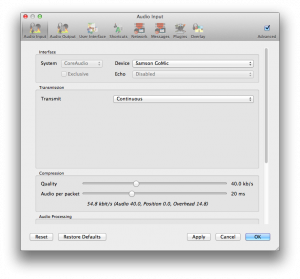
Here’s what you should pick:
- Device — Pick your appropriate input and output devices. This should be a decent microphone and a set of headphones. If we sent you a microphone and headphones via Amazon, look for the “Microphone (Samson GoMic)” option from the list.
- Echo — Disabled
- Transmit — Continuous
- Idle AutoDeafen — Off
- Compression
- Quality — 96 kb/s (or whatever is the highest setting/farthest the slider will go to the right)
- Audio per packet — 20 ms
- Audio Processing
- Noise Suppression — Minimum of -30 dB
- Amplification — Slide all the way to the left, it should be set to 1.00.
NOTE: You must hit “Apply” or “OK” for the settings to take effect. Hitting “OK” will also close the configuration dialog.
With the above settings, you will sound great and we will have minimum setup once we connect to the server.
How we record The Amp Hour
While this is in no way required viewing, if you’re more interested in how we record the show, Chris made a video explaining it:
[tube]http://www.youtube.com/watch?v=BP3Z_N8IkQQ[/tube]
